Archive | Nail Art RSS feed for this section

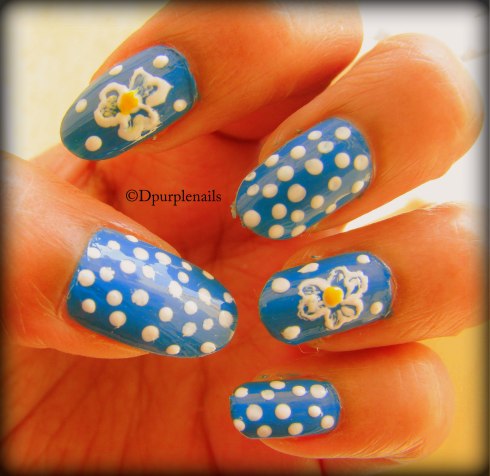
Flowers and Polka Dot Nails

26 Aug

Flowers and polka dots are always in fashion, the trend never gets old. I found a perfect summer design to go with your polka doted or floral printed dress. I used blue color as background you can choose the background color according your dress.

Flowers and polka dot nails

First paint your nails with blue or any color of your choice, let it dry. Now take a dotting tool or tooth pick and create polka dot deigns on nails except the second and the ring finger. Now on those two finger draw flowers using white polish and add a yellow dot in the middle of the flower. Seal in your design with top coat and your flowers and polka doted nails are ready.

Watermelon Nails

6 Aug

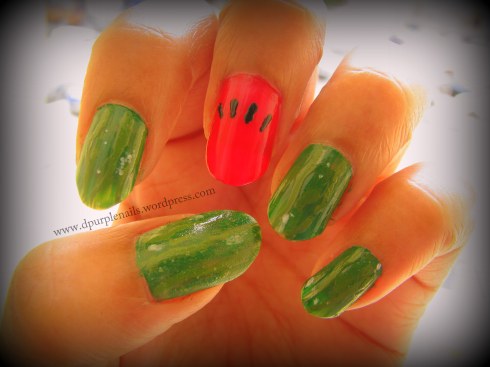
Watermelons are my favorite food for summer. As the heat is increasing in UAE the best thing to do is eat watermelons. So thought of doing this nail art with melon designs to suit the mood and weather.

Watermelon nails

First paint your nails with dark green color, except your middle finger where you have to paint the red or pinkish read color. On the red nail with the help of tooth pick draw black seeds. By using a thin brush draw curvy lines with light green or olive green color  on the dark green nails and add white dots here and there now slowly sponge them by using a makeup sponge to give the look of watermelon skin. Now let it dry and apply a top coat. Your watermelon design is ready.

Pineapple Nails

14 Jul

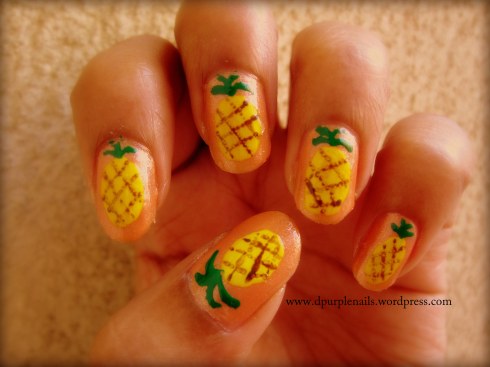
Juicy pineapples are my favorite among summer fruits. I just love the sweet taste and lingering lovely smell on my fingers. So I thought of creating pineapple nails, suitable for summer time.

Pineapple nails

Firs paint your nails with nude or orange pinkish nail polish and let it dry. Now paint  big yellow circles  resembling the pineapple fruit and with  the help of a tooth pick create brown, thin dotted lines. Top the design with green leaves and pineapple nails are ready.

Starfish Nails

30 Jun

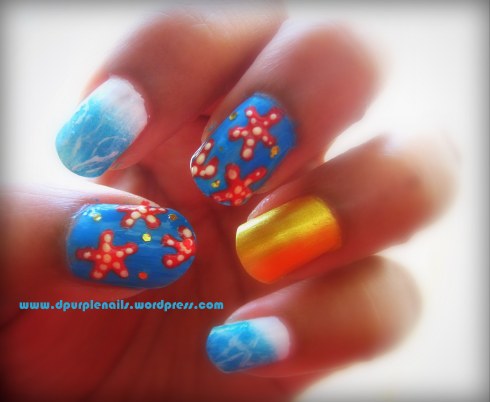
Here in UAE it is hot and sweaty summer. All I think about is eating watermelons and drinking jars after jars of lemonade. After last time’s attempt of beach nails I thought of starting summer nail collections. This time I am back with starfish nail design. A perfect design if you are goin out to the beach.

Starfish nails

First paint one finger with gold or silver polish and 2 nails with white polish. Now take a makeup sponge and do the gradient polishing by using sea green and light blue. Let it dry, once it is dry take a small striper or nail brush and dip it in little white polish and give it curvy lines or wavy effect like how it is shown in the picture. Now the starfish part comes, paint your thumb and middle finger with light blue polish and once it is dried take a tooth pick or dotting tool to create stars in coral red color. Now add small white dots on it for the 3D effect and add small golden glitters to the space available between starfishes.

Summer Beach nails

17 May

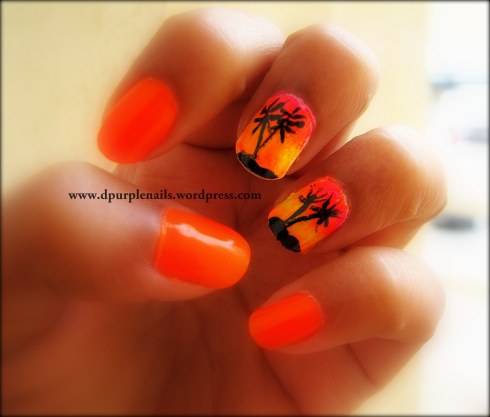
Summer beach nails

These are beach nails, suitable for summer. Very easy to create, first paint your nails orange as shown in the picture and paint two nails plain white and let it dry. Take a sponge and get ready to create gradient effect. First apply pink then yellow and then orange on the sponge and dab it slowly on white polished nails, do it again until you get the perfect coloring. Let it dry and then take a thin nail art brush and draw rocks and palm tree as shown in the picture. Beach nails is ready, you can wear with your orange or any other bright color sundress 🙂

Dragonfly nails

20 Apr

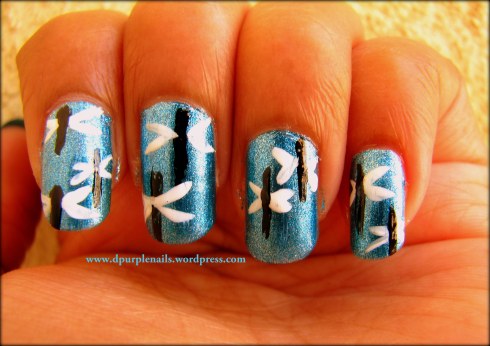
Dragonfly nails

These are Dragonfly nails, easy to create with a simple nail art brush. First I applied Blue shimmer polish and with the help of nail art brush I created black lines for body and white lines for wings and applied top coat. Simple and easy dragonfly design is ready.

Spring flower nails

19 Apr

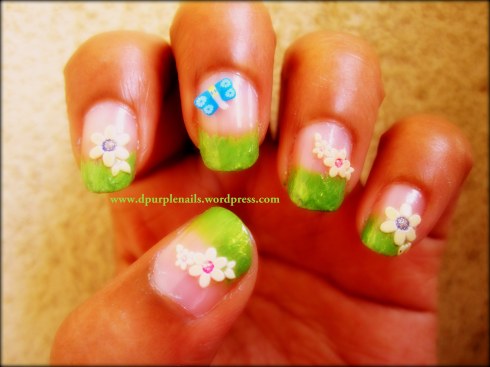
Spring flower nails

This nail design is for spring lovers, suitable for green and flowery season. Very easy and creative design. First paint your nails with base polish or clear polish then take a nail brush dipped in grass green polish and tap it nicely on nail tips to create a green tip. Then stick flower stickers and butterfly stickers (I used fimo cane butter fly design here) to give a nice garden look. You can use colorful flowers to give a better look or use polish and draw colorful flowers. Seal your design with top coat and your spring design is ready.

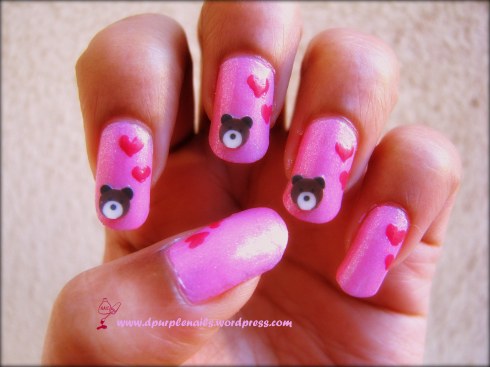
Teddy and heart nails..

15 Feb

Teddy and heart nails I wore this design for valentines day, teddy and heart nails. First I painted my nails with shiny pink polish and let it dry. Using dark pink polish I created small hearts on every nails and for more valentines day look used 3 fimo cane teddy bear design. If you don’t have that you can just draw  teddy’s face  by using dark brown, white and black polish with the help of dotting tool.

Multi colored love nails

13 Feb

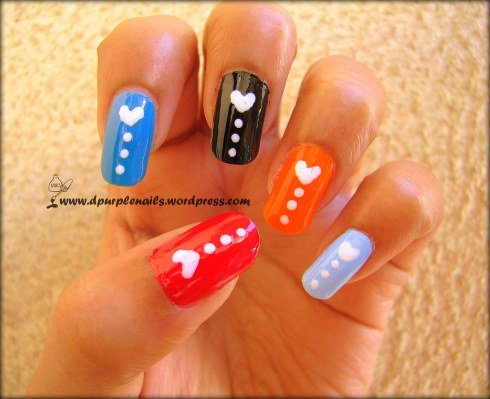
Multi colored love nails


These are multi colored love nails, easy to create by using a tooth pick or dotting tool. First paint your nails with different colored polishes and let it dry. Take white polish and a dotting tool and draw small hearts and 3 dots as shown in the picture and your design for Valentine’s day is ready. if you want you can only use Red or Pink instead of many colors.


Golden Heart nails

12 Feb

Golden heart nailsRecently I bought Gold nail polish so I wanted to do something with golden and black. I had these heart shaped flowery stickers to go with it. First apply gold polish and let it dry, later cover the part you don’t want to paint with a cello tape and apply black nail polish. Then over the gold polish stick the heart stickers and this design is ready. If you want to wear something shiny on Valentine’s day golden heart nails are perfect choice. You can loose the black polish if you want more simple look. Here black came out little messy so it kinda spoiled the look, so if you don’t want black polish then you can leave it out from the design.